The Single Roster Upload can be found under the Data Management tab and should be used by communities (e.g., school districts) who have a centralized data management system and/or who have identified personnel who will manage the entire community’s data upload. The Single Roster Upload is appropriate for use only during the creation of your community’s data.
When uploading data into CLI Engage, the first step is to make sure that you can see all your schools in the system. Scroll down to the related resources to find more information about searching for your schools. If any of your schools are not shown, please submit a help ticket. A member of our support team will contact you with some quick steps to activate your schools in CLI Engage.
Video Demonstration:
Instructions:
Step
1
Creating Your Data File
The Single Roster Upload tool can be used for three purposes:
- To create Students, Classes and Teachers
- To update Student information
- To move Students among Classes
The template can be used for a single, or for multiple schools in the same Community or District.
The template is an Excel file that has to have some specific column headings and must stay in the
exact order. There are two tabs at the foot of the template: Data and Instructions.
As some data fields require information to be entered in a very specific format, for example,
Gender, Ethnicity, phone numbers, etc., this process is designed for users with advanced level
computer and Excel skills.
Important NOTES:
- DO NOT DELETE any optional column that is not used
- DO NOT CHANGE the order of any columns
- The maximum number of rows in the file is 10,000
Step
1.1
Steps to Create New Students
Column A – Action: Enter “I” (upper case i) as in “INSERT”.
Provide all the required fields. The system will create the Student, assigning the Student to the
appropriate Class.
If the Class does not exist in Engage the system will create it and will name it using the following
naming convention: Teacher Last Name, Class Day Type, and Class Level.
If the Teacher does not exist in Engage the system will create his or her account and send the
Registration Invitation by email, and will assign him or her to the Class or Classes created.
If a Student is created and the Teacher and Class already exist in Engage, he or she will be
assigned to the appropriate Class.
Teachers are matched based on First Name, Last Name, Teacher Internal ID, and Teacher Primary
Email.
Classes are matched based on Teacher Last Name, Class Day Type, and Class Level.
To prevent Teacher or Class duplication, always use the same Teacher First Name, Teacher Last
name, Teacher Internal ID, and Teacher Primary Email.
Step
1.2
Steps to Update Existing Students
Column A – Action: Enter “U” (upper case u) as in “UPDATE.”
If the Student already exists in Engage and the Action is “U”, the system will update all the Student
information based on the Student Internal ID. That means that the common field to match the
Single Roster and the CLI Engage data base is the Student Internal ID.
This action can be used to update the Student First, Middle and/or Last Name, Student TSDS ID,
Student Grade Level, Assessment Language, Date of Birth, Gender, and Ethnicity.
Step
1.3
Steps to Move Existing Students Among Classes
Column A – Action: Enter “U” (upper case u) as in “UPDATE”.
Provide all the required fields with the new Teacher and Class information for the Students. The
system will assign the Students to the new Class and will remove the Students from the old Class.
If the new Teacher or the new Class does not exist in Engage yet, the system will create the
Teacher account and will send the Registration Invitation by email and will create the new Class.
Step
1.4
Maintaining Class Rosters Up-to-Date
Class rosters can be kept up to date with a 2-step process: use the “U” action followed by the “I”
action.
Create a Single Roster file with all the enrollment data entering “U” under the Action Column.
This action will only update the records where Student information needs to be changed or
where Class re-assignments need to be done.
If the file contains a new Student that is not in Engage, the system will report “Student not found in
Engage.”
Then, create the same Single Roster file with all the enrollment data entering “I” under the Action
Column.
This action will create only the Students that are not in Engage yet. Since all the existing Students
were updated in the previous step, all the Student Names and Internal IDs will match and no
duplicate Students will be created. The system will report that “Student already exists in the
Community.”
If the number of Students does not exceed 5,000, you can create a single file with the “U” rows
first followed by the “I” rows.
If you prefer to create two different files, make sure that the “U” file is processed first.
Step
1.5
Download the Single Roster Upload spreadsheet template to review the column definitions. Refer to the “Instructions” tab in the template.
Remember to make sure you have inputted ALL the required information before uploading your Single Roster.
Step
2
Single Roster Upload
Before following the steps in this document, first create your CLI Engage Single Roster Upload
file following the steps listed above.
Name your upload file [CommunityName]_[YourInitials]_DDMMYY and save to your desktop.
Step
2.1
From the CLI Engage Dashboard, click on the “Class and Roster Management” button under the Administrative banner.


Step
2.2
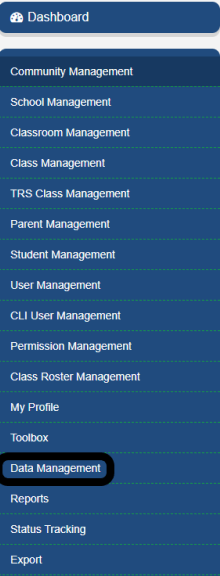
Click on “Data Management” on the left of the screen.
Step
2.3
Then, select “Single Roster.”
Step
2.4
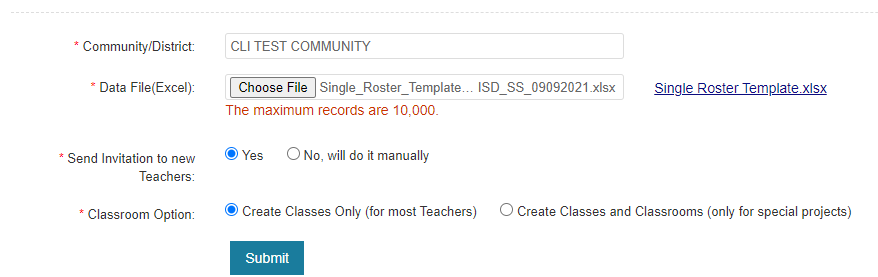
Begin typing the name of your community in the search box (such as the name of your school district), then select the name of your community from the dropdown that appears. Then, select “Choose File” to select your completed Single Roster template from your desktop or other location on your computer.
To automatically send email invitations for new teachers to register for CLI Engage, select “Yes.” Otherwise, select “No” to send invitations manually. For Classroom Option, select “Create Classes Only.” Then, select “Submit.”
Step
2.5
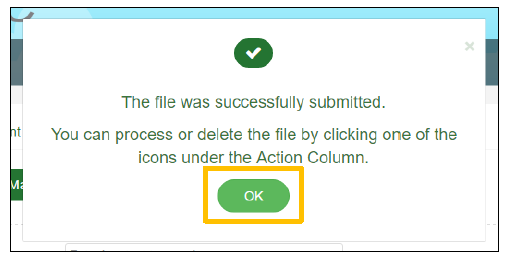
A message will appear after you click submit. Click “OK” to clear the message and proceed.
Step
2.6
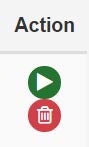
Then, scroll down to the “Process Data” section. You will see your batch number listed with the total number of students. When you are ready to proceed with your upload, click the green arrow button to process the data file.

Step
2.7
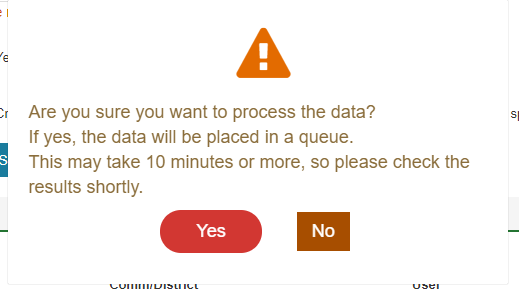
Then, a pop-up message will appear confirming that you would like to process your data file. If you’re ready to process the file, click “Yes.” Otherwise, click “No” to return to the previous screen and review your file again.
Step
2.8
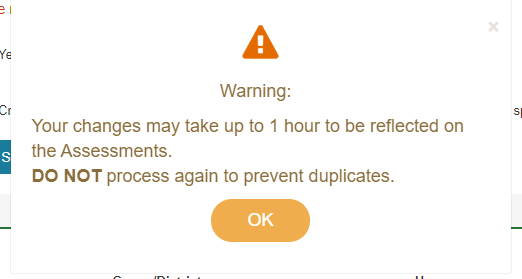
After you click “Yes,” another message will appear. Please DO NOT process another file with the same information to prevent duplicate data being uploaded. It may take up to one hour for the new data to be reflected on CLI Engage. Click “OK” to clear the message.
Step
2.9
After a few minutes, you will be able to view the status of your upload.
You will see the Batch #, and numbers for Students – Total, Success, & Fail
If you have a Fail, please click on the Action button to view the error message

Step
2.10
If you need assistance with the Single Roster Upload, please submit a help ticket at: www.texasschoolready.org/help
This document was last modified on: November 28, 2023